Jenkins is a powerful open source tool that enables you to automate tests and deployment.
Apache Tomcat is a powerful servlet Java container for running web applications.
If you are running your apps in Tomcat, or wish to do so, you might also want to run Jenkins in it.
Installing the Tomcat Server
If you don’t have Tomcat, start here. If you do, skip to the next section “Installing Jenkins”.
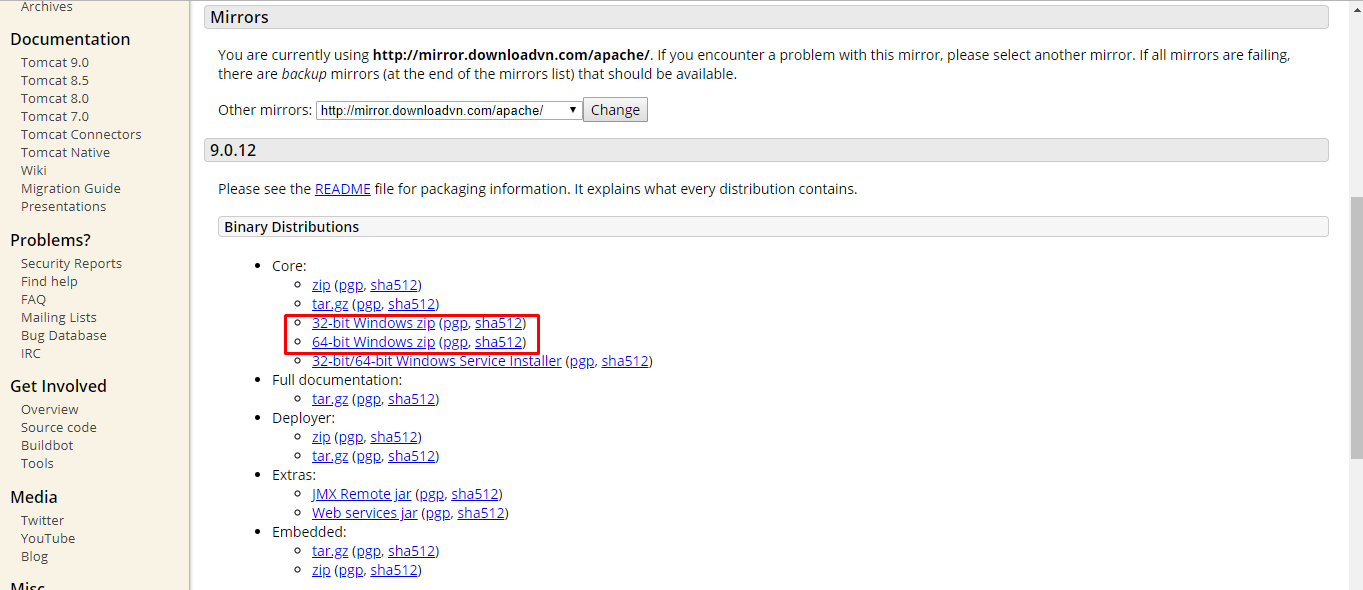
1. Go to the official Tomcat website and choose the Tomcat version to download.
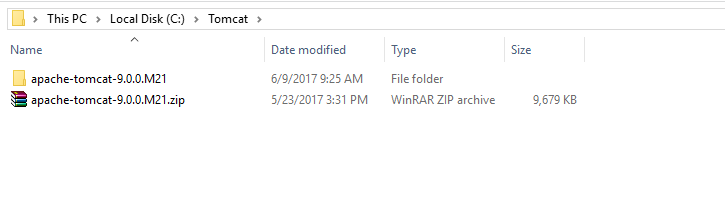
2. Copy the downloaded zip file to the location of your choice and unzip it.
3. Go to sub folder bin and click on the startup windows bat file
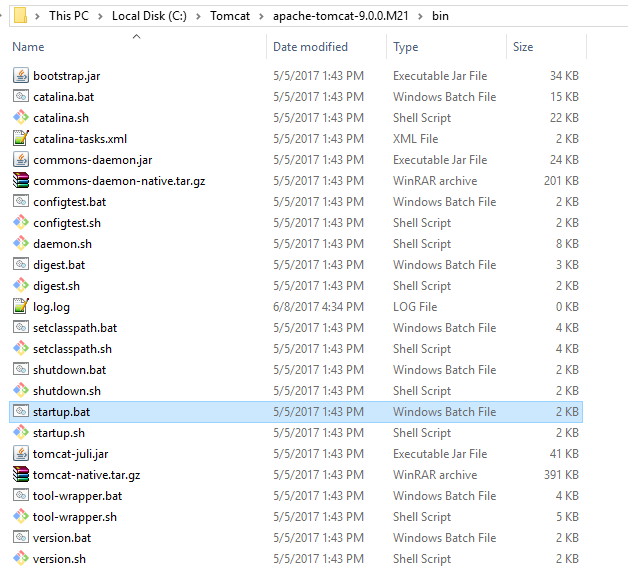
The Tomcat server will start.
4. Go to the url http://localhost:8080 to launch the Tomcat server.

Installing Jenkins
1. Click here to download the latest Jenkins WAR file.
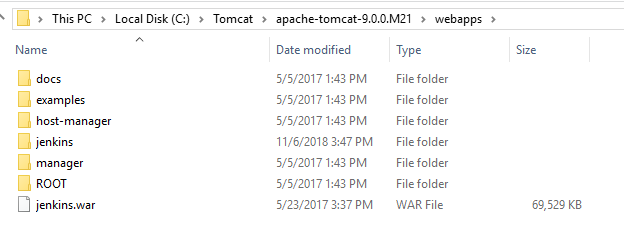
2. Copy the jenkins.war file to the subfolder webapps in the Tomcat installation.
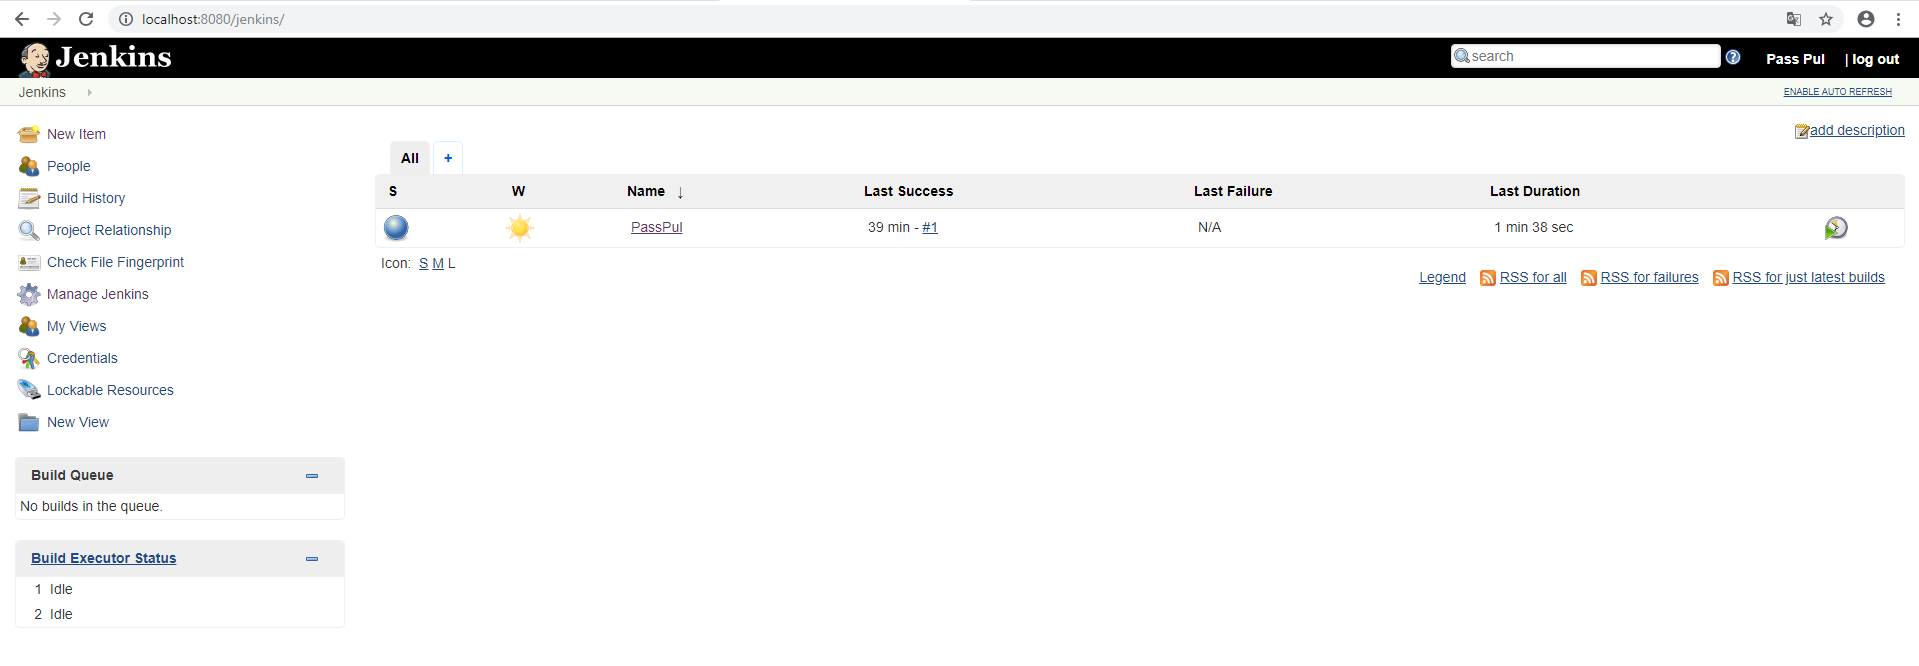
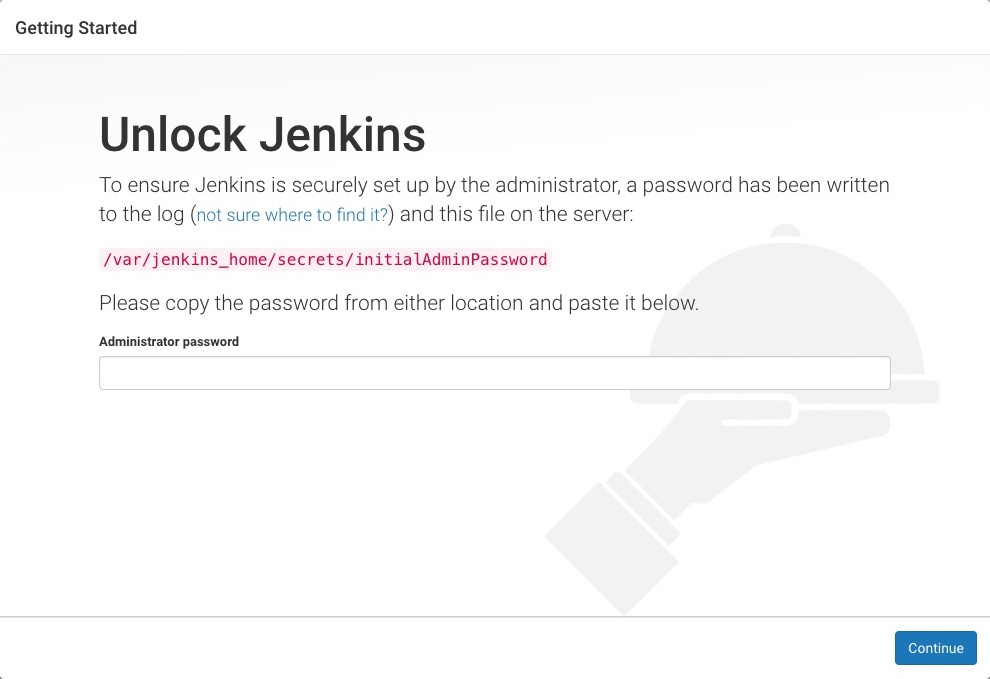
3. Go to the url http://localhost:8080/jenkins to launch the initial Jenkins page
4. To unlock Jenkins, paste the password copied from the file .jenkins\secrets\initialAdminPassword.
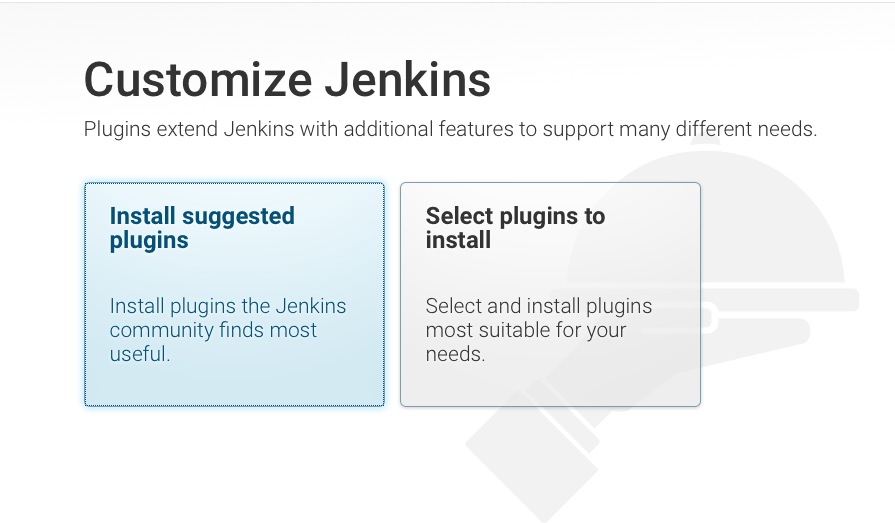
5. click on “Install suggested plugins” to install the default plugins or “Select plugins to install” to install the plugins you want
6. The plugins will install, wait until this process is completed.

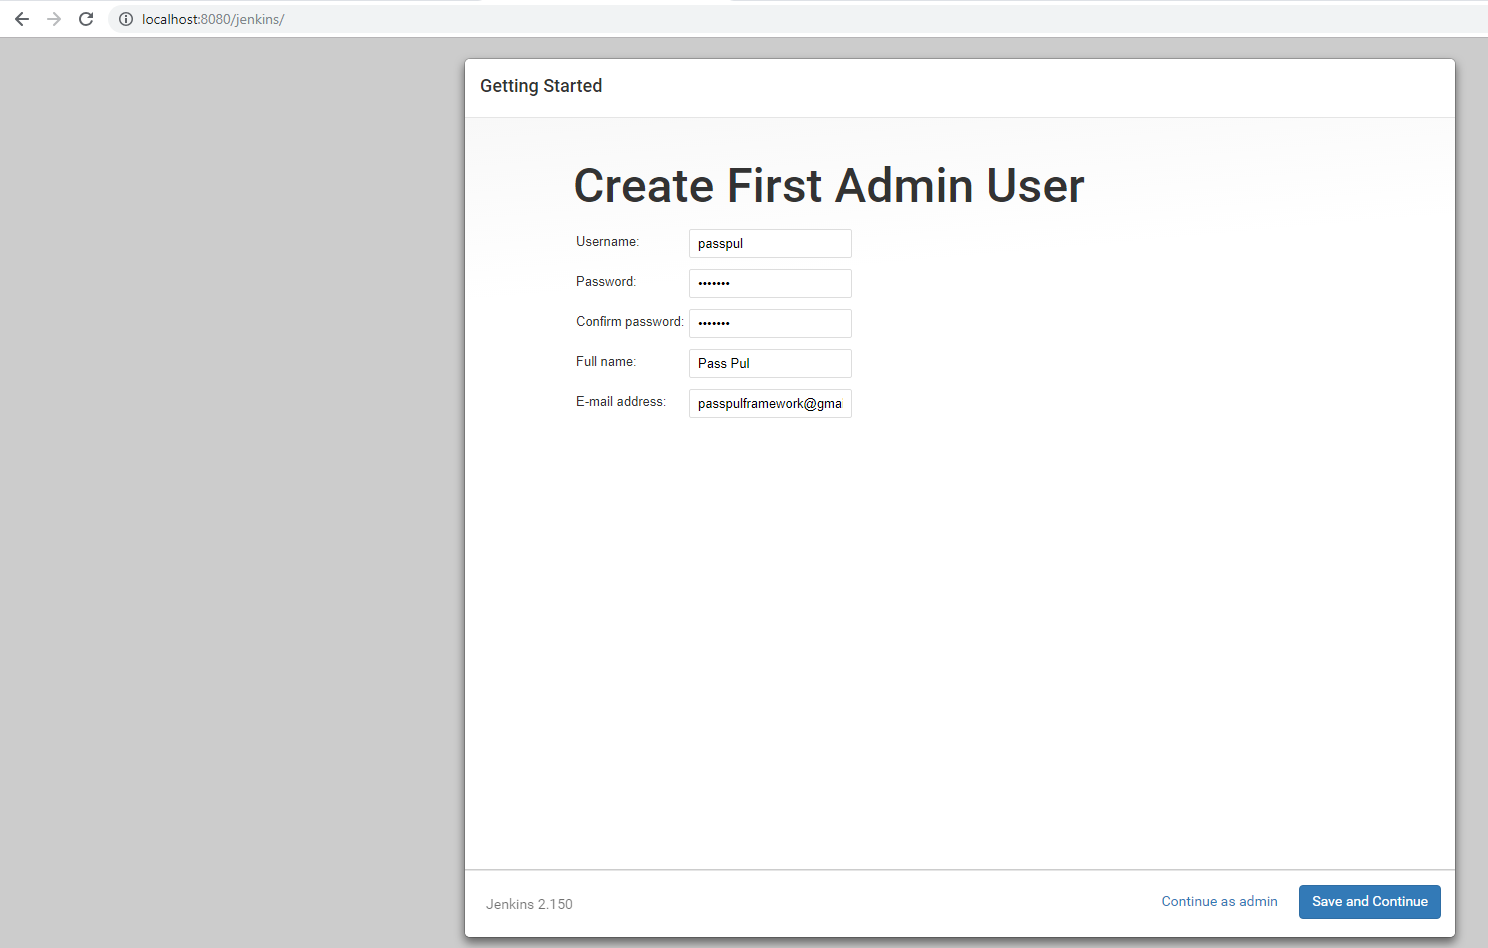
7. Create your first admin user for Jenkins and click “Save and Continue”.
8. Click “Save and Finish” to complete the installation!

9. Click in “Start using Jenkins” to open the default Jenkins page.

Integrate PassPul with Jenkins
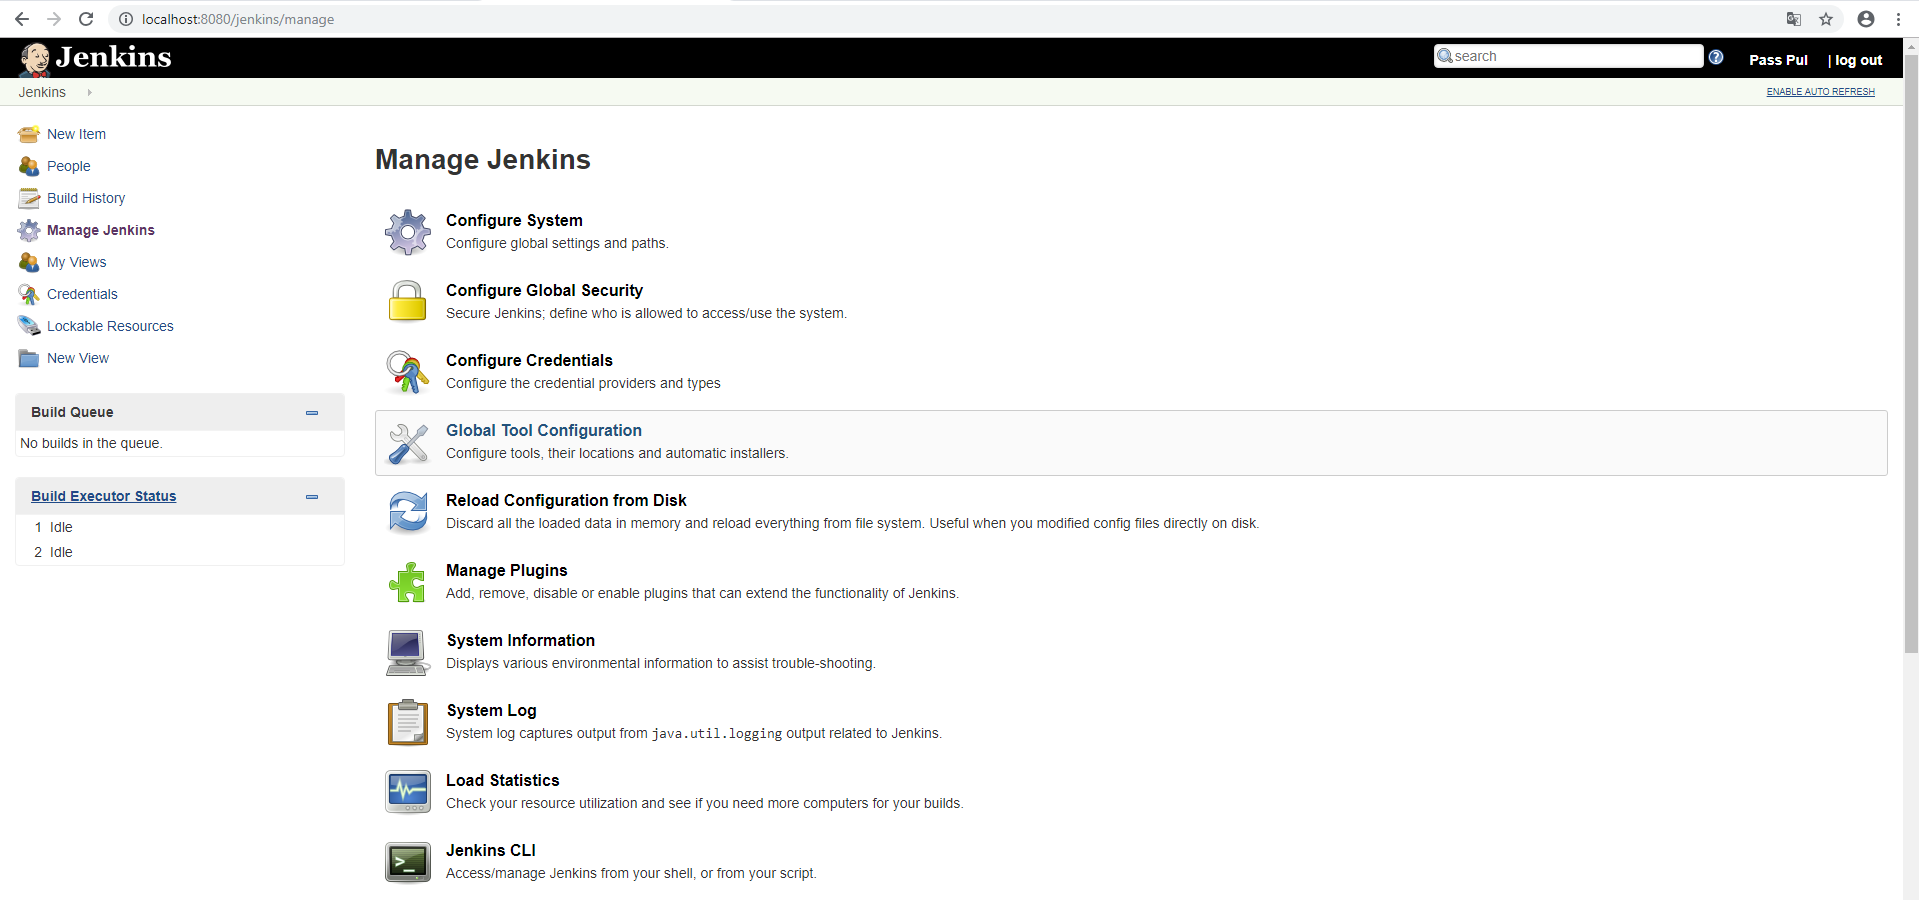
1. Manage Jenkins >> Global Tool Configuration
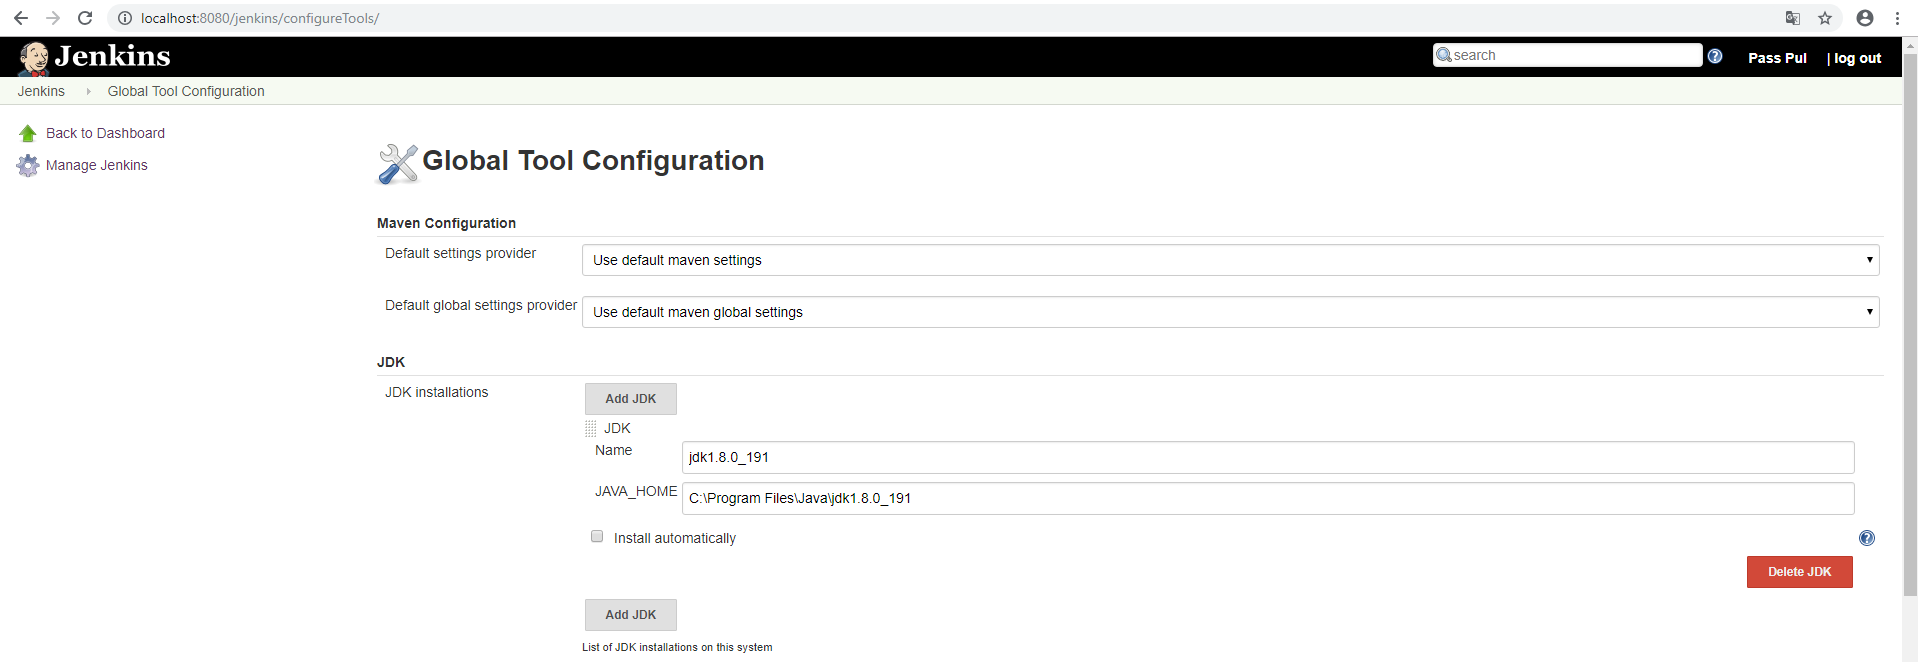
2. Add JDK
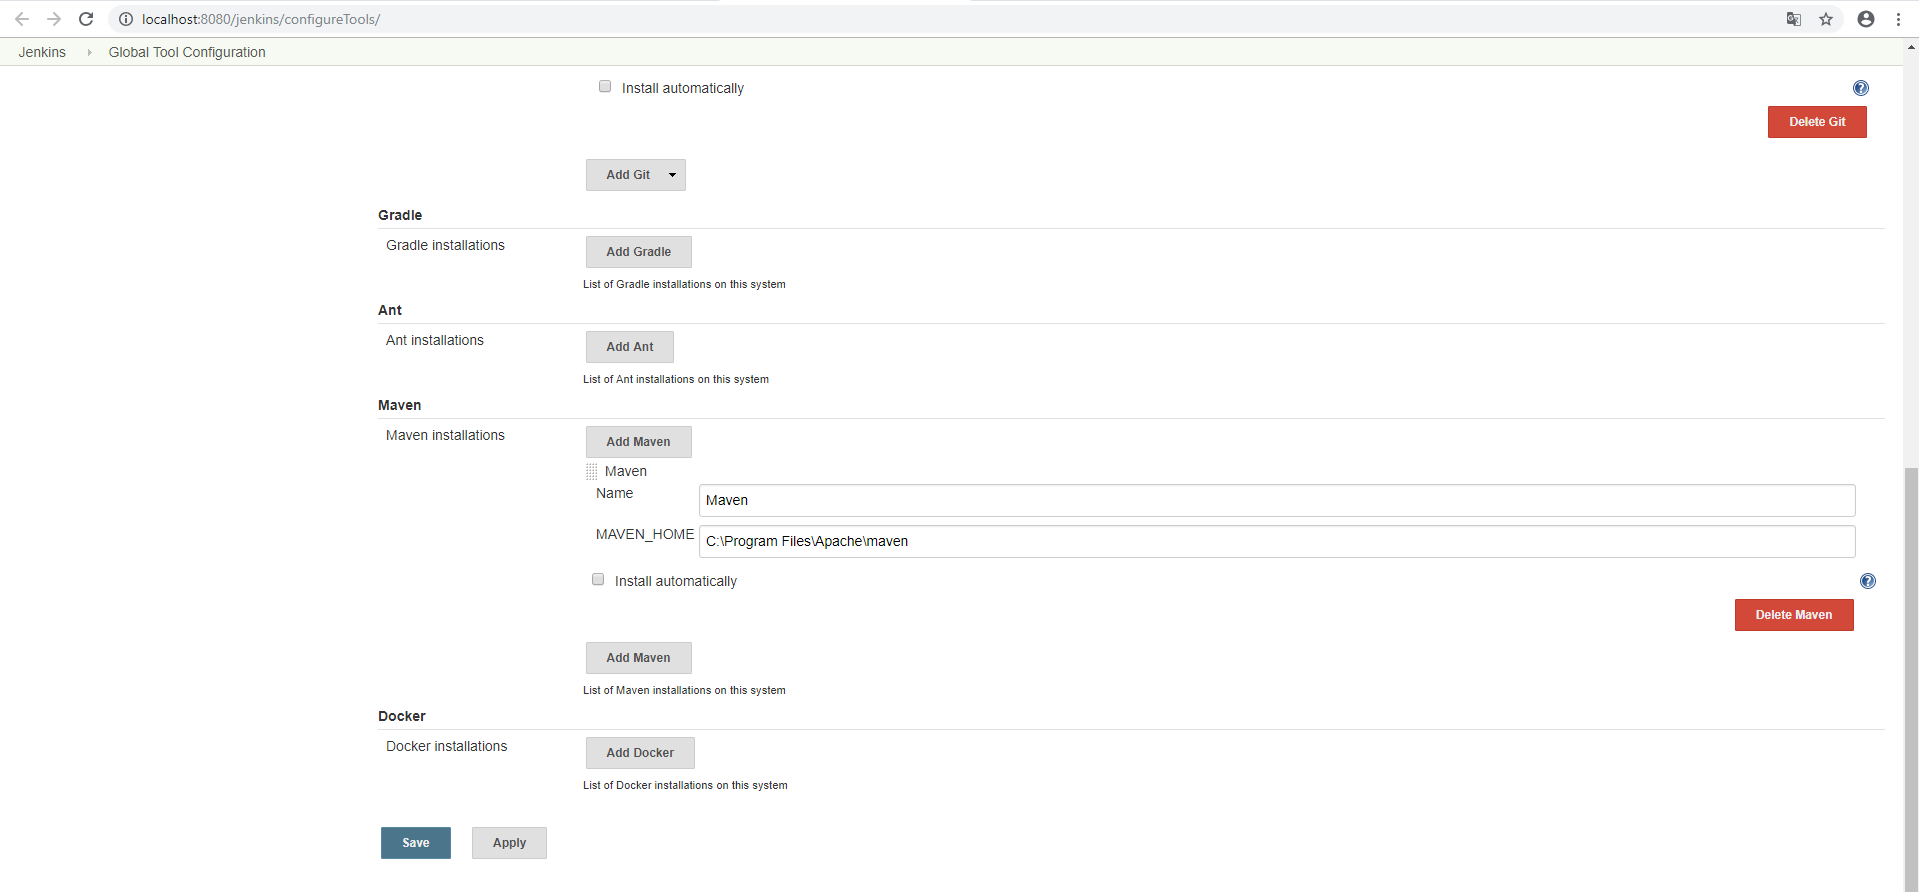
3. Add Maven
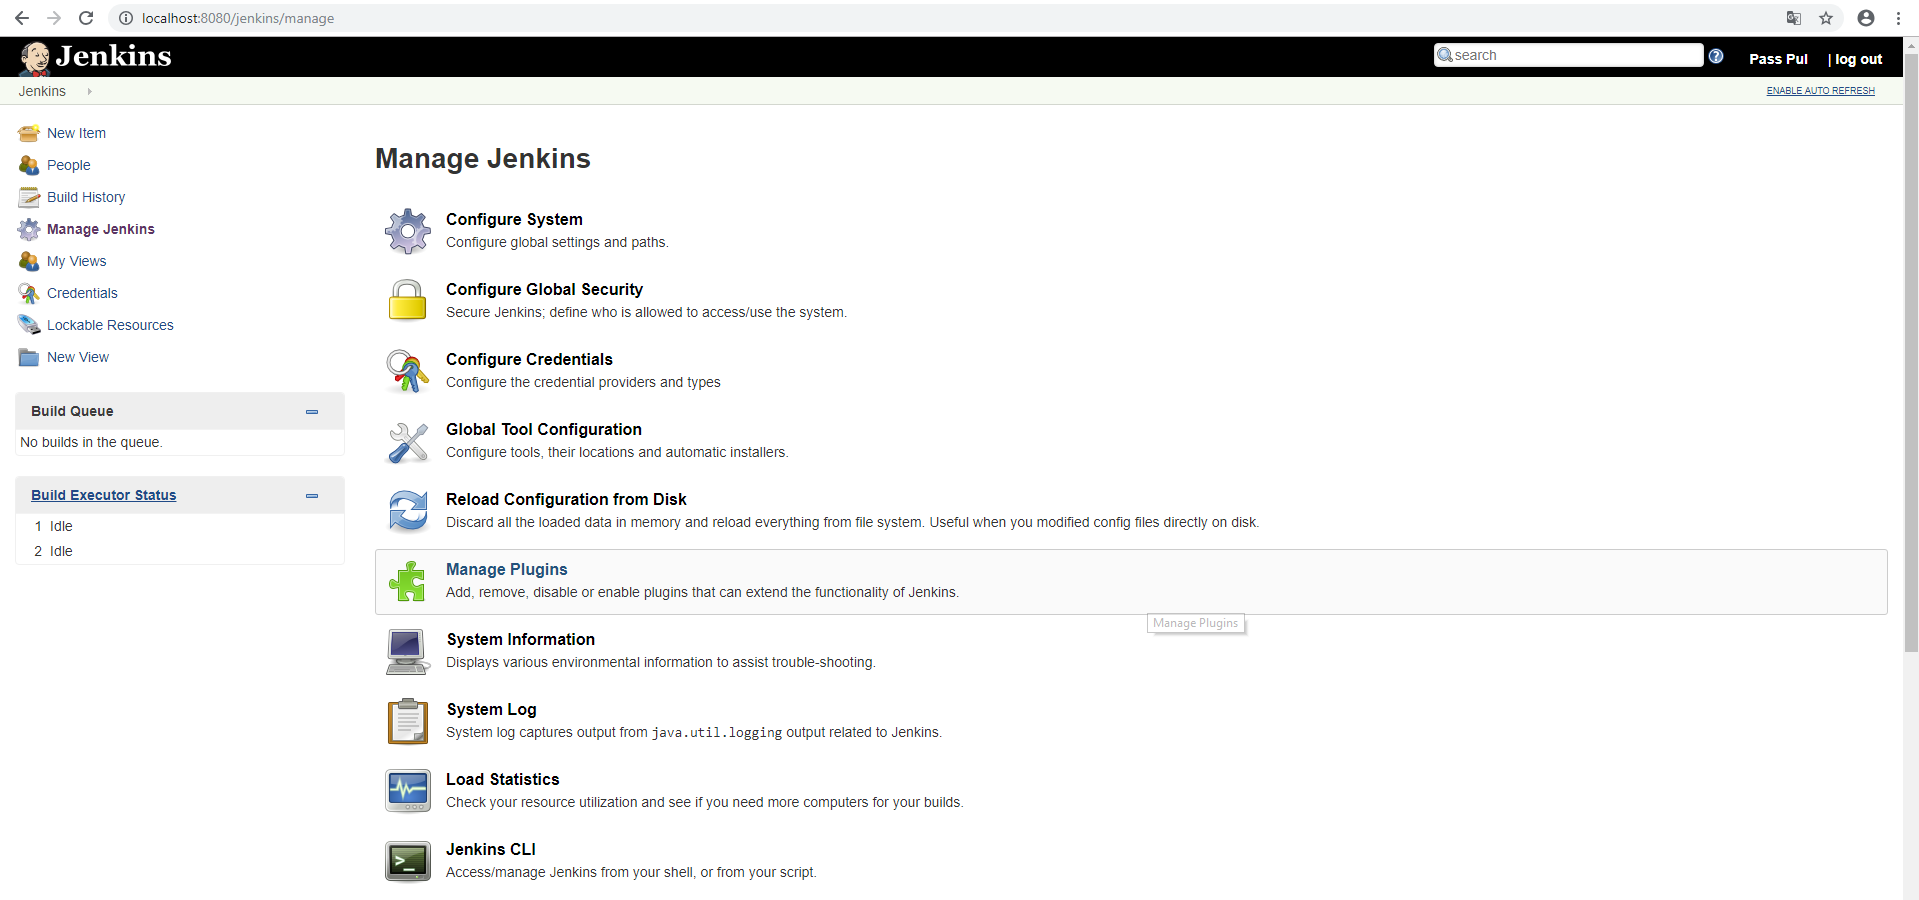
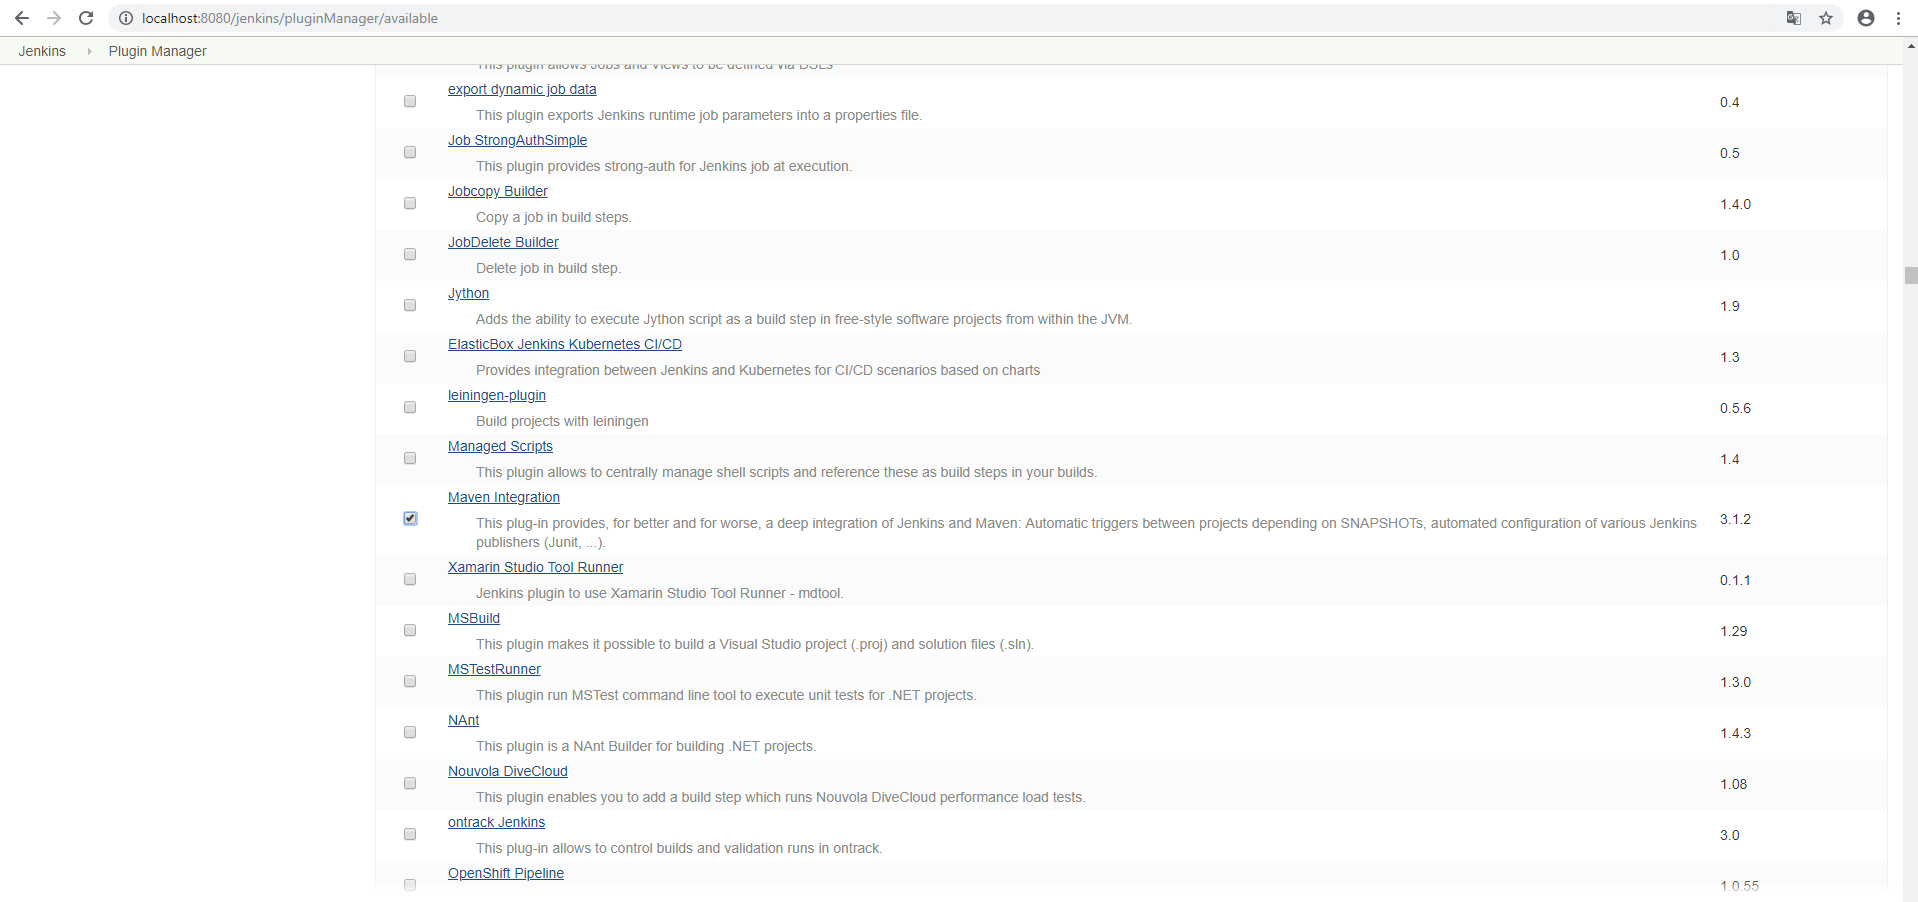
4. Manage Jenkins >> Manage Plugins
5. Install Maven Integration
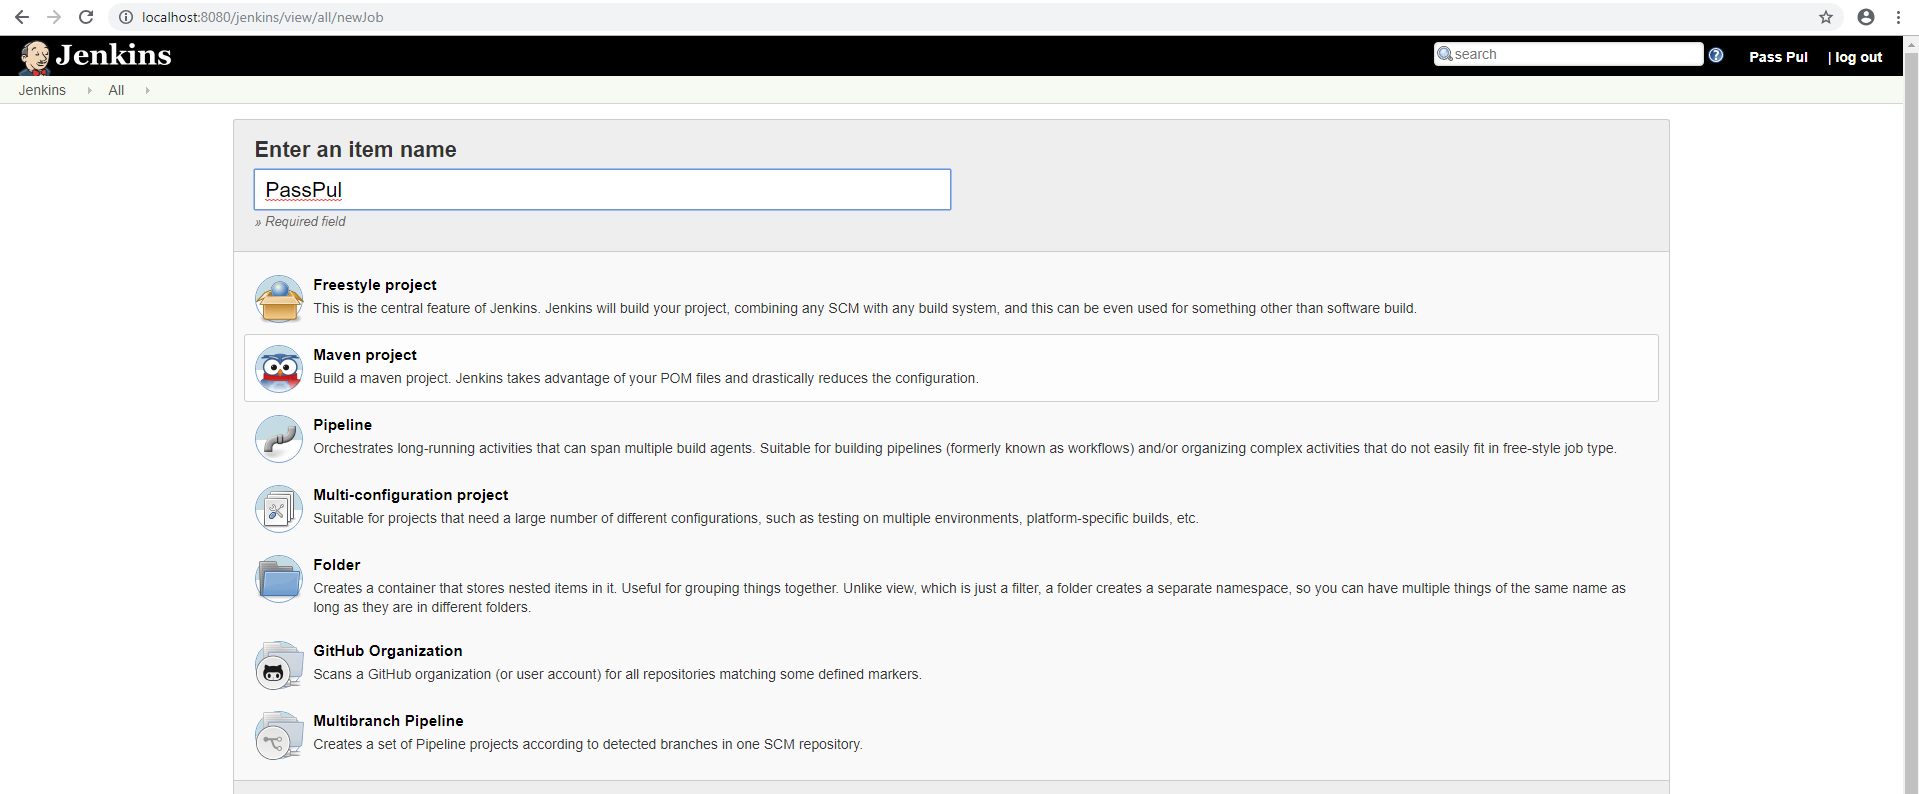
6. New Item

7. Select Maven Project
8. Input Root POM & Goals and options
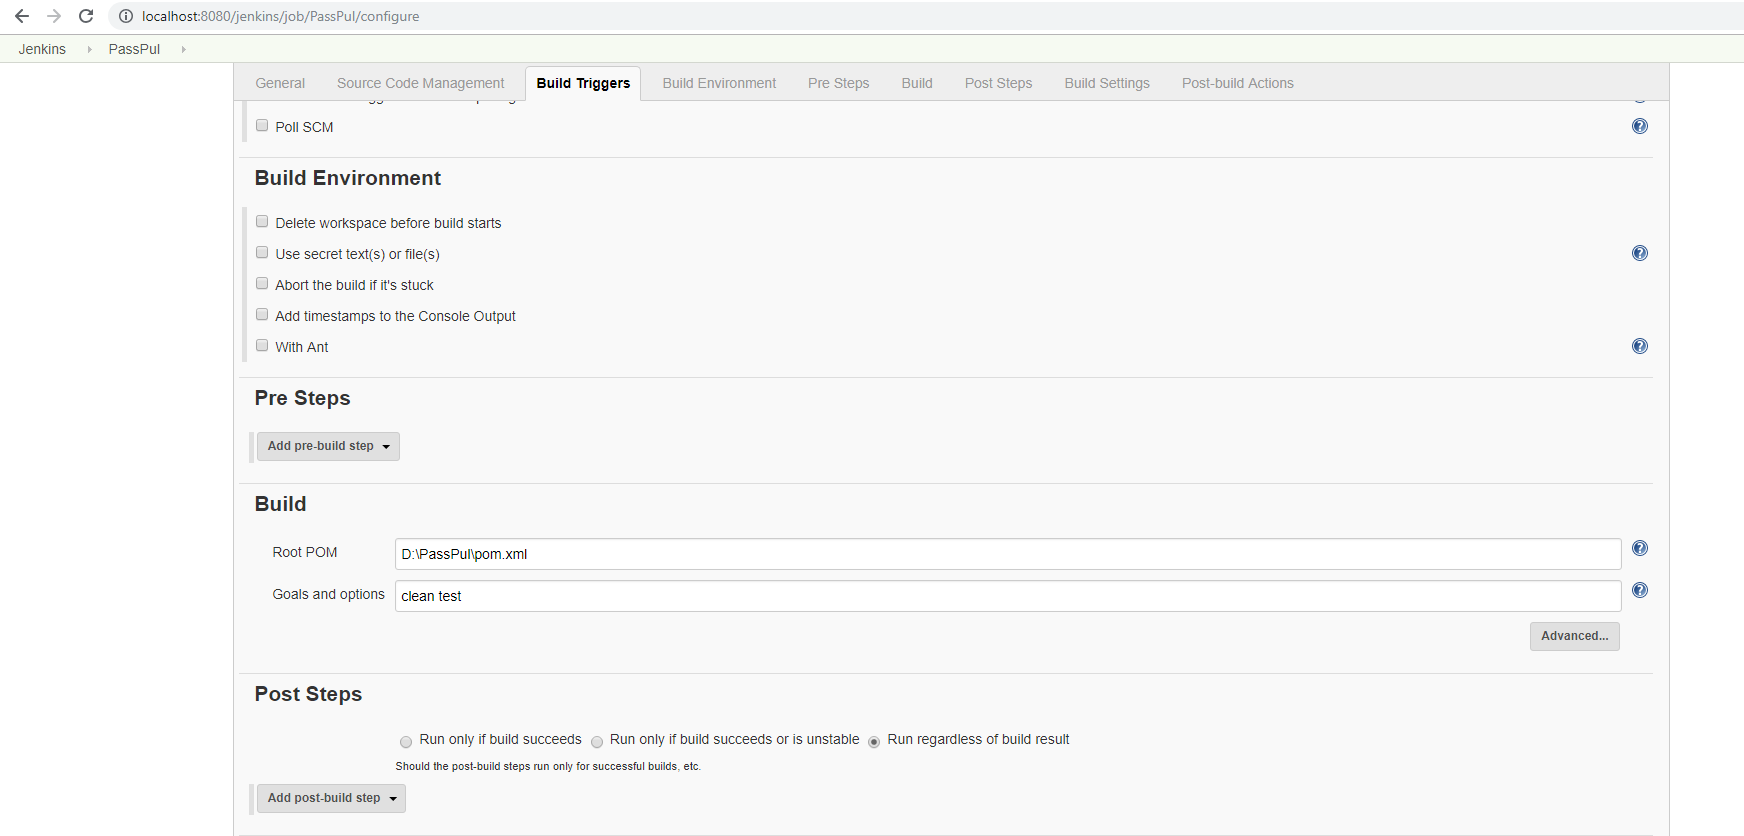
PassPul is ready in Jenkins now